How to Repot Your Orchids
If you’re an orchid enthusiast, you may find yourself needing to repot your orchids from time to time. Repotting is an essential part of orchid care, as it allows the plant to grow and thrive in a healthy environment. In this guide, we will walk you through the steps to successfully repot your orchids.
Related posts: Orchid Care https://vivaorchids.com/orchids-care/
The Best Practices for Watering Orchids
Step 1: Prepare for Repotting
The first step in repotting your orchid is to gather all the necessary materials. You will need a slightly larger pot than the current one, fresh orchid potting mix, a pair of clean and sharp scissors or pruning shears, and a watering can or spray bottle filled with clean water.
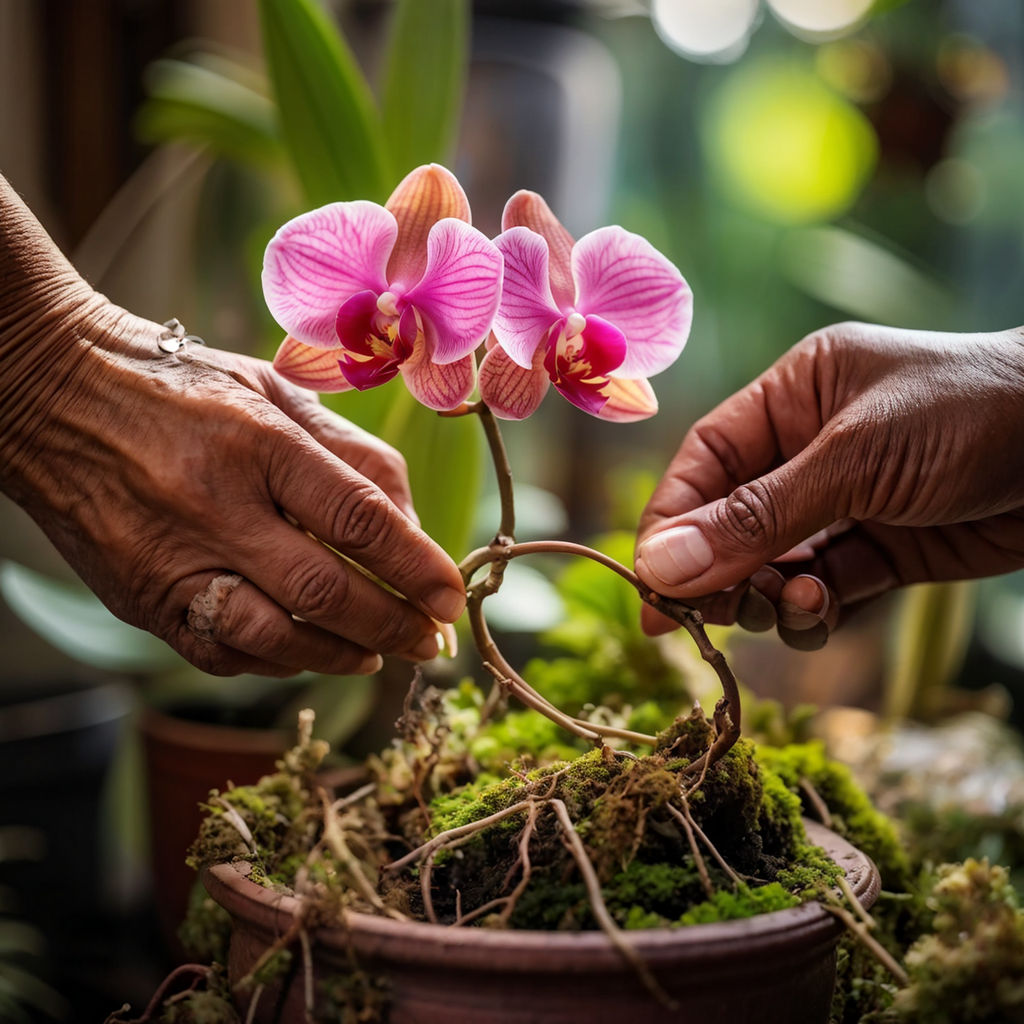
Step 2: Remove the Orchid from its Current Pot
Gently remove the orchid from its current pot by holding the base of the plant and carefully sliding it out. Be careful not to damage or break any of the delicate roots.
Step 3: Untangle and Trim the Roots
Once the orchid is out of its pot, carefully untangle the roots using your fingers or a pair of tweezers. Remove any dead or rotting roots by trimming them with clean and sharp scissors or pruning shears. It’s important to remove these unhealthy roots to promote the growth of new and healthy ones.
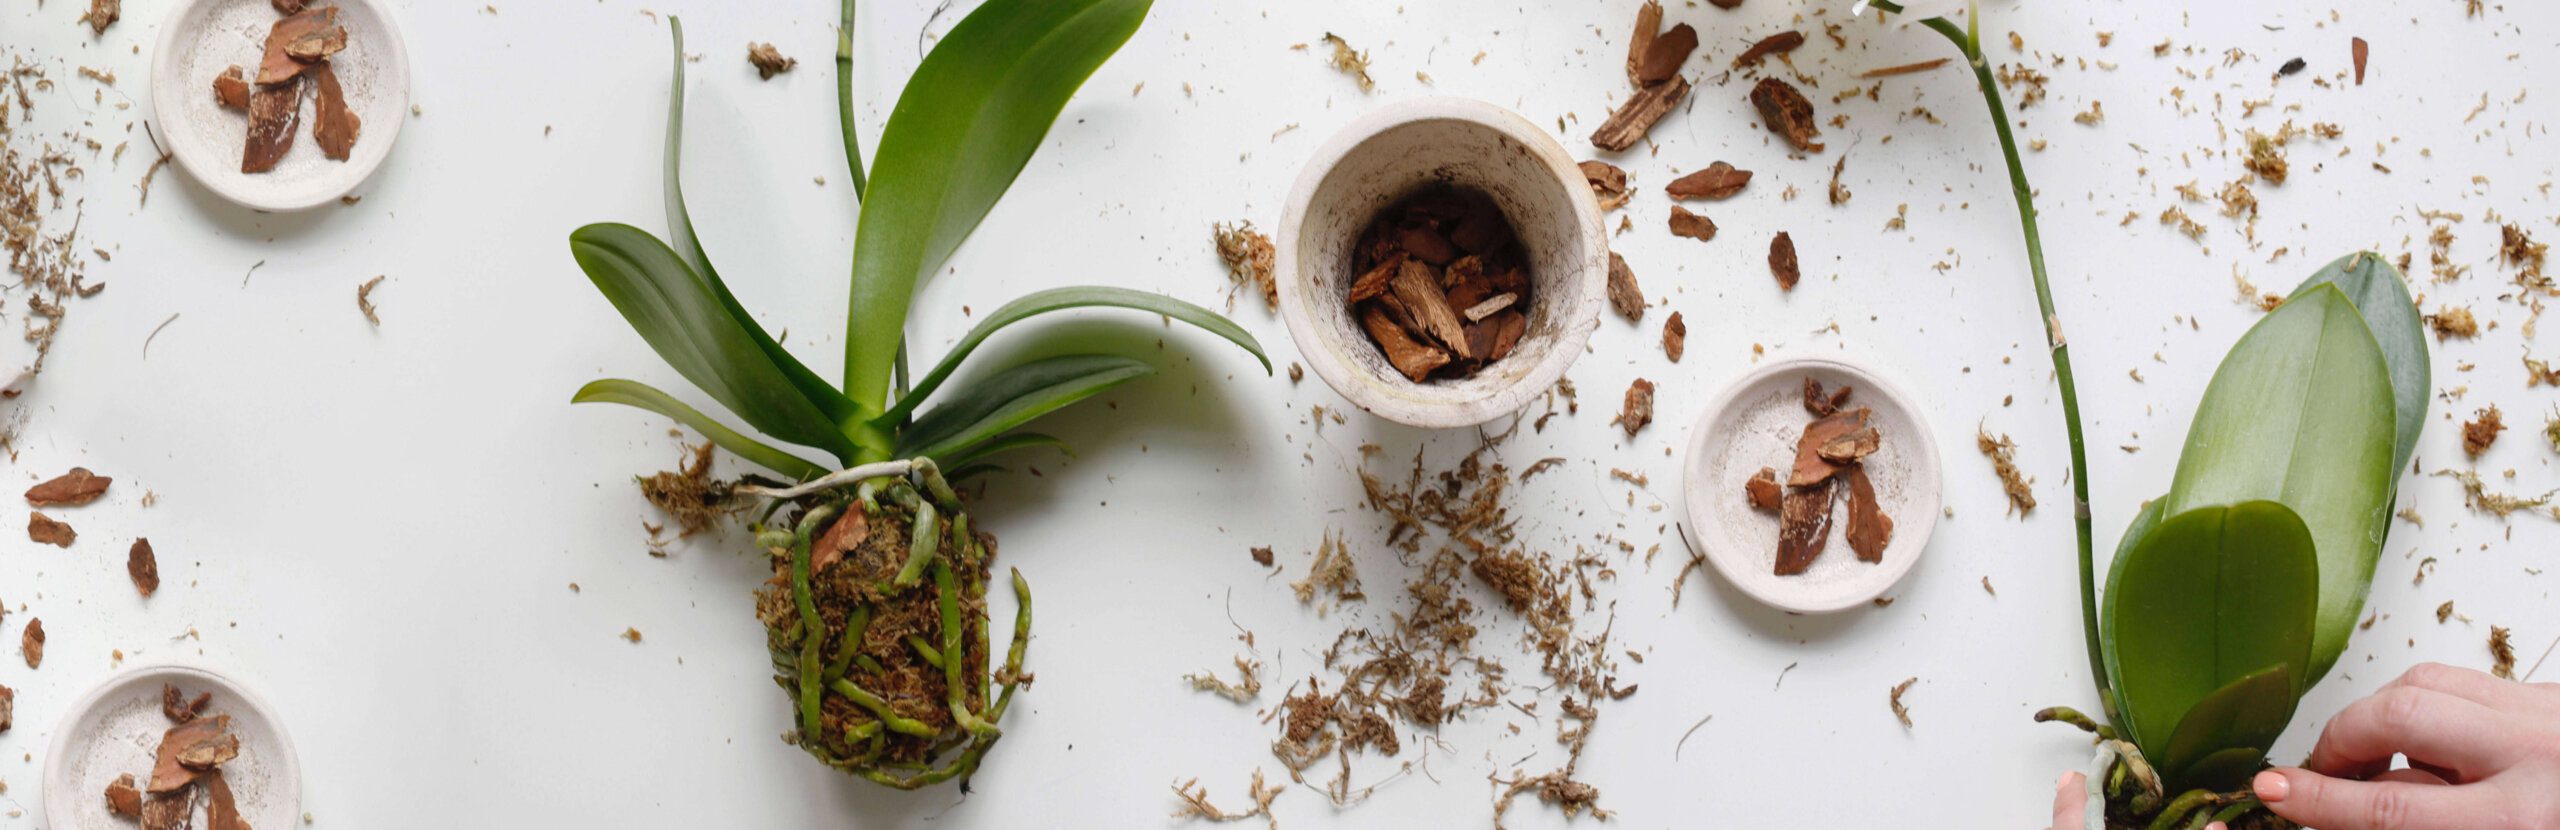
Step 4: Choose a Larger Pot and Add Fresh Potting Mix
Select a pot that is slightly larger than the current one. Orchids prefer to be slightly root-bound, so avoid choosing a pot that is too large. Fill the bottom of the new pot with a layer of fresh orchid potting mix. This mix should be specifically formulated for orchids and provide good drainage.
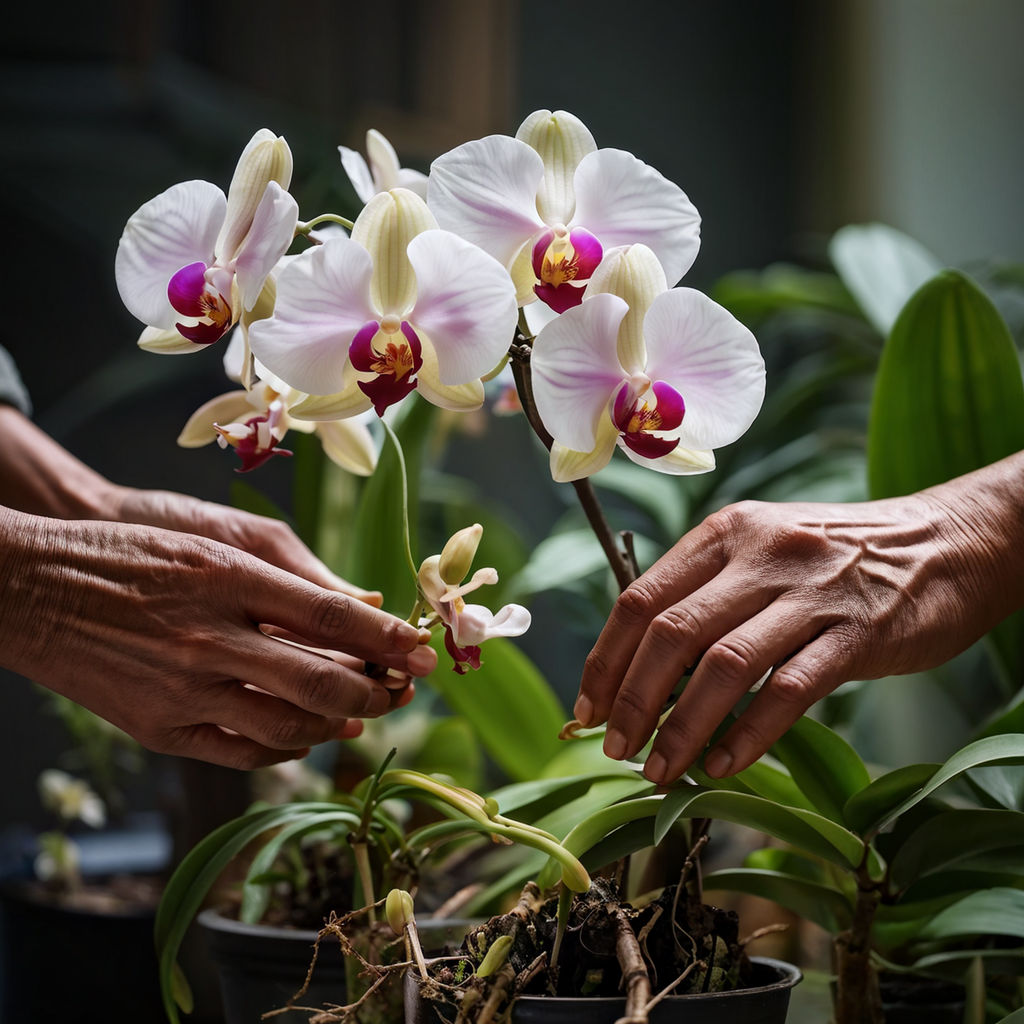
Step 5: Repot the Orchid
Place the orchid in the new pot, ensuring that the roots are adequately covered with the potting mix. Gently press the mix around the roots to secure the plant in place. Avoid over-packing the potting medium, as orchid roots need good airflow.
Step 6: Water the Orchid
After repotting, it’s important to water the orchid lightly. Use a watering can or spray bottle filled with clean water to moisten the potting mix. Avoid overwatering, as this can lead to root rot. Allow the potting mix to dry slightly between waterings.
Step 7: Give the Roots Time to Recover
After repotting, it’s best to avoid fertilizing the orchid for a few weeks. This will allow the roots to recover from the repotting process. Once the roots have had time to settle into their new environment, you can resume your regular fertilizing routine.
Conclusion
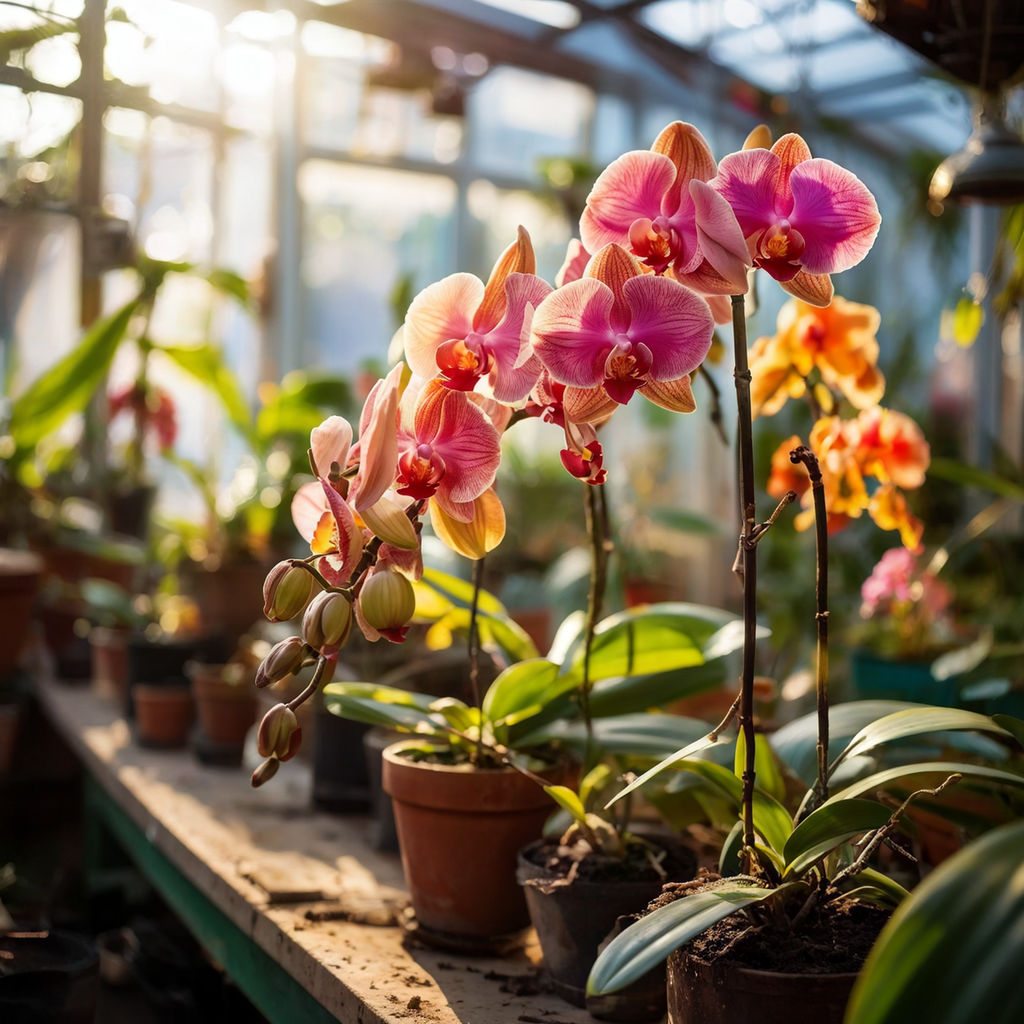
Repotting your orchids is an important part of their care and maintenance. By following these steps, you can ensure that your orchids have a healthy and supportive environment to grow and thrive. Remember to be gentle with the roots, choose the right potting mix, and provide adequate watering and care. Your orchids will thank you with beautiful blooms and vibrant growth.